
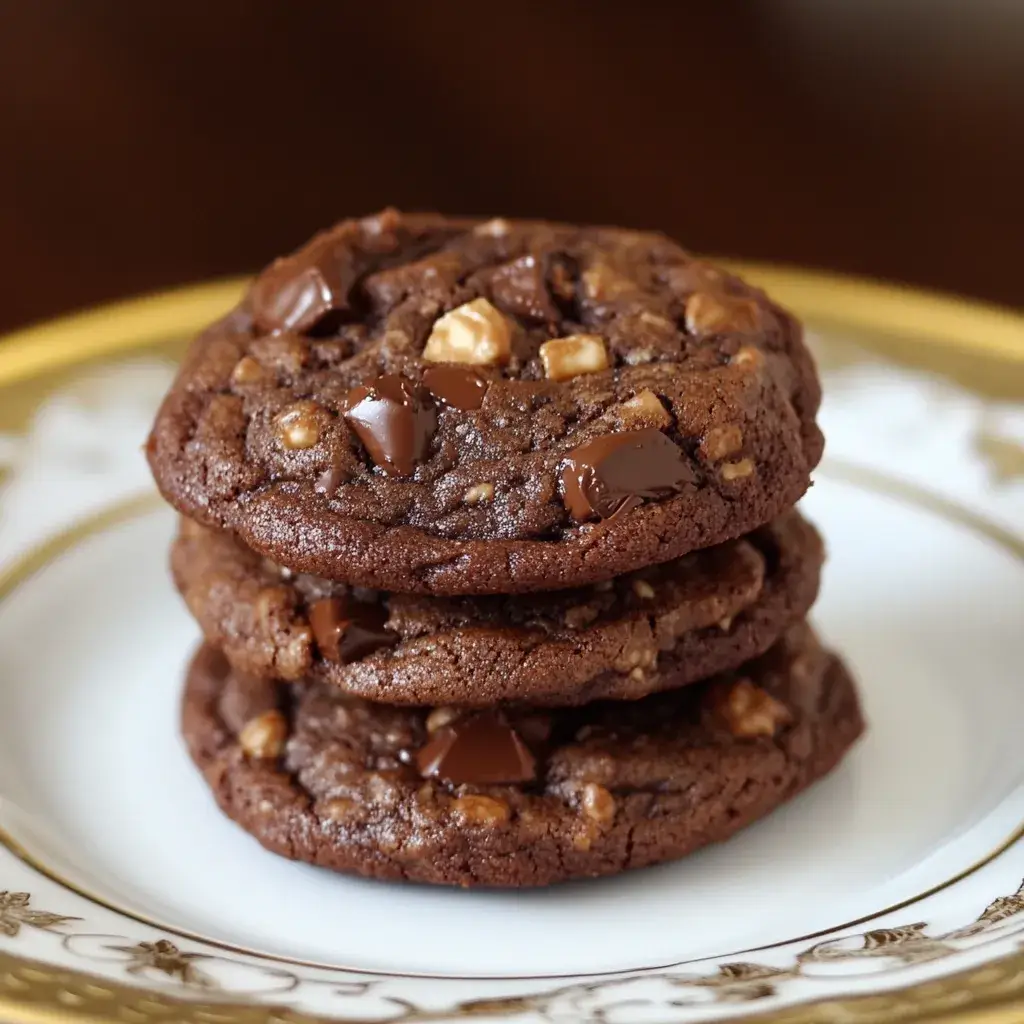
Chocolate brownie cookies are a delightful fusion of two beloved desserts—brownies and cookies. These treats combine the rich, chocolatey flavor of brownies with the chewy texture of cookies, creating an irresistible snack that’s perfect for any occasion. In this comprehensive guide, we’ll explore everything you need to know about making, customizing, and enjoying chocolate brownie cookies.
Introduction to Chocolate Brownie Cookies
What Makes Chocolate Brownie Cookies Special?
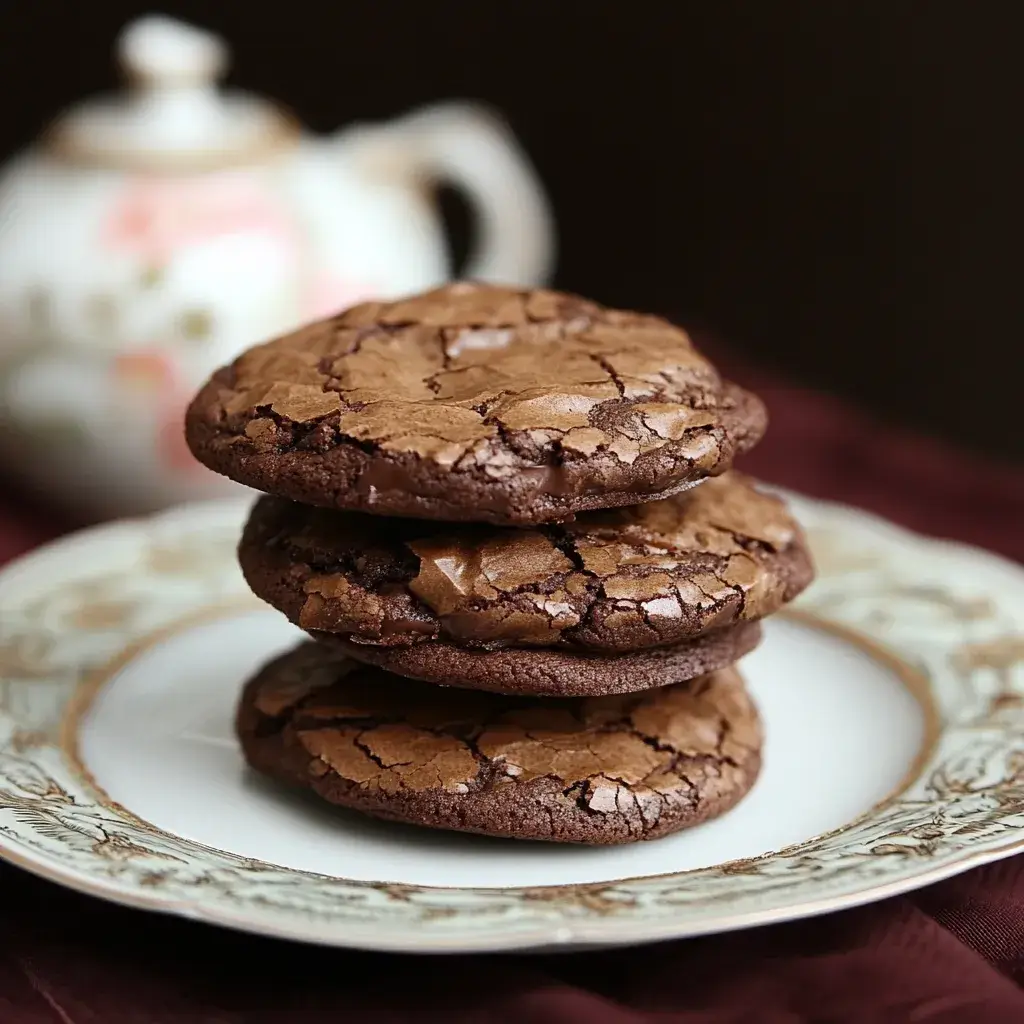
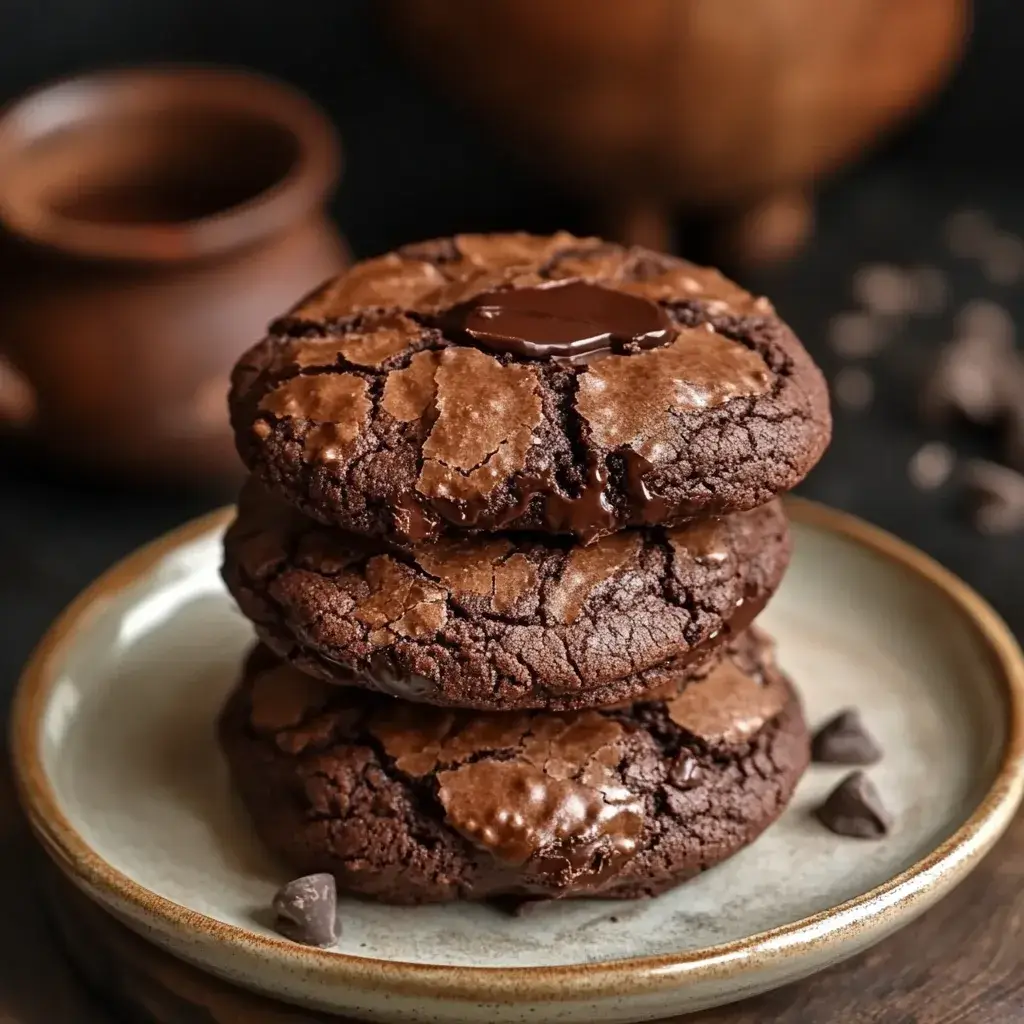
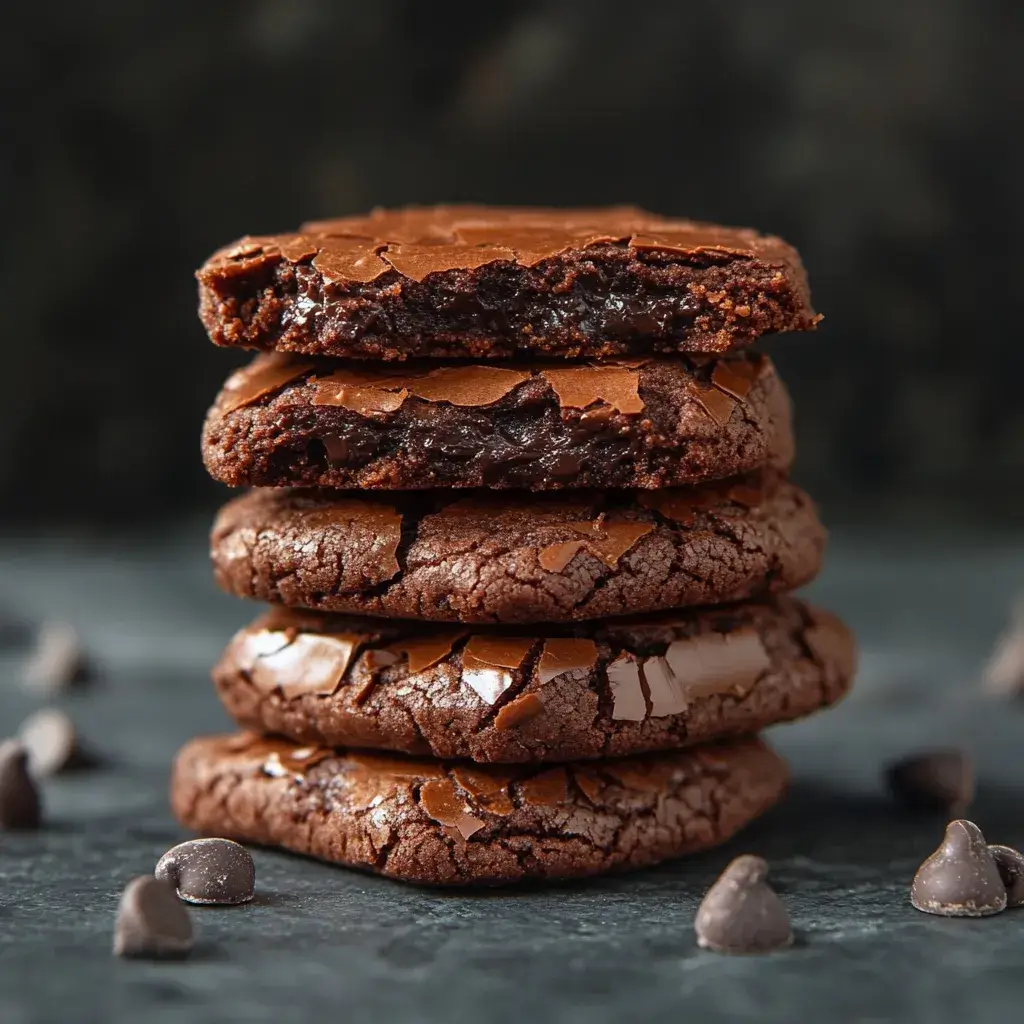
Chocolate brownie cookies are more than just a dessert—they’re a celebration of indulgence. Unlike traditional cookies, which often rely on lighter textures, these treats bring the dense, fudgy qualities of brownies into play. This unique combination results in a cookie that’s both soft and chewy, with a deep chocolate flavor that satisfies even the most ardent sweet tooth.
What sets chocolate brownie cookies apart is their versatility. Whether you prefer them slightly crispy on the outside or gooey in the middle, there’s a recipe variation to suit every taste. Additionally, they can be customized with various mix-ins like nuts, caramel, or even crushed candy bars, making each batch uniquely yours.
A Brief History of Chocolate Brownie Cookies
The origins of chocolate brownie cookies lie in the separate histories of brownies and cookies. Brownies were first introduced in the late 19th century as a cross between a cake and a bar cookie. Their dense, chocolatey goodness quickly made them a favorite among bakers. Meanwhile, cookies have been around for centuries, evolving from simple flat cakes to the diverse array of flavors and textures we enjoy today.
The idea of combining brownies and cookies likely emerged as bakers experimented with new ways to enhance classic recipes. By merging the best qualities of both desserts, chocolate brownie cookies became a hit, offering the convenience of cookies with the luxurious taste of brownies.
Why You Should Try Making Chocolate Brownie Cookies at Home
Making chocolate brownie cookies at home offers numerous advantages over store-bought options. First, it’s cost-effective. While pre-packaged cookies may seem convenient, preparing them yourself allows you to control ingredient quality and save money in the long run. Second, homemade cookies provide endless customization opportunities. You can adjust sweetness levels, add your favorite mix-ins, or experiment with different types of chocolate.
Finally, baking chocolate brownie cookies is a rewarding experience. There’s something magical about transforming simple ingredients into delicious treats that everyone will love. Plus, the aroma of freshly baked chocolate wafting through your kitchen is sure to bring joy to anyone nearby.
Essential Ingredients for Perfect Chocolate Brownie Cookies
Key Players in the Recipe
To create the perfect chocolate brownie cookies, you’ll need a few essential ingredients:
- Chocolate Chips : High-quality chocolate chips are crucial for achieving a rich, velvety flavor. Opt for semi-sweet, dark, or milk chocolate depending on your preference.
- Butter : Unsalted butter is ideal because it gives you better control over sodium levels. Softened butter blends more easily into the dough, ensuring a smooth texture.
- Flour : All-purpose flour provides structure to the cookies without overpowering the chocolate flavor. For a lighter texture, consider using cake flour.
- Sugar : A combination of granulated sugar and brown sugar works best. Granulated sugar adds crispness, while brown sugar contributes moisture and a hint of caramelized flavor.
- Eggs : Eggs act as binding agents, helping the dough hold together during baking. They also contribute richness and tenderness.
- Cocoa Powder : Unsweetened cocoa powder enhances the chocolate flavor without adding unnecessary sweetness. Dutch-processed cocoa is a great option for deeper color and taste.
Optional Add-ins for Extra Flavor
While the basic recipe is delicious, adding extra ingredients can elevate your chocolate brownie cookies to new heights:
- Nuts : Chopped walnuts, pecans, or almonds add crunch and complement the chocolate perfectly.
- Crushed Candy : Crushed candy canes or peanut butter cups introduce festive flair and unexpected bursts of flavor.
- Coconut Flakes : Toasted coconut flakes provide a tropical twist and enhance the overall texture.
- Caramel Bits : Small pieces of caramel melt into the cookies, creating gooey pockets of sweetness.
Tools You’ll Need to Get Started
Having the right tools makes the baking process smoother and more enjoyable:
- Mixing Bowls : Use large bowls for mixing wet and dry ingredients separately before combining them.
- Measuring Cups and Spoons : Accurate measurements are key to consistent results. Invest in a good set of measuring tools.
- Whisk and Spatula : A whisk helps incorporate air into the batter, while a spatula ensures thorough mixing and easy transfer to the baking sheet.
- Baking Sheets : Non-stick baking sheets or those lined with parchment paper prevent sticking and make cleanup easier.
- Cooling Rack : Allow cookies to cool completely on a rack to maintain their shape and prevent sogginess.
Chocolate overload? This German Chocolate Cake doubles the decadence!
Step-by-Step Guide to Making Chocolate Brownie Cookies
Preparing Your Ingredients
Before diving into the recipe, take time to prepare all your ingredients properly:
- Melt the Chocolate : If using chocolate bars instead of chips, melt them gently in a double boiler or microwave until smooth. Let the melted chocolate cool slightly before adding it to the batter.
- Softening Butter : Allow butter to sit at room temperature for about 30 minutes. Alternatively, soften it in the microwave in short bursts, checking frequently to avoid melting.
- Sifting Dry Ingredients : Sift flour, cocoa powder, and baking powder together to remove lumps and ensure even distribution throughout the dough.
Mixing the Dough Like a Pro
Once your ingredients are ready, follow these steps to create the perfect dough:
- Cream Butter and Sugar : Beat softened butter with both granulated and brown sugar until light and fluffy. This step incorporates air into the mixture, resulting in softer cookies.
- Add Eggs and Vanilla : Mix in eggs one at a time, followed by vanilla extract. Ensure each addition is fully incorporated before proceeding.
- Combine Wet and Dry Ingredients : Gradually add the sifted dry ingredients to the wet mixture, alternating with the melted chocolate. Be careful not to overmix, as this can lead to tough cookies.
- Fold in Mix-ins : Gently fold in any optional add-ins, such as chocolate chips or nuts, being careful not to break them up too much.
Shaping and Placing the Cookies
Shaping your cookies correctly ensures uniform baking and attractive presentation:
- Scoop the Dough : Use a cookie scoop or tablespoon to portion out equal amounts of dough. Consistent sizing helps ensure even baking.
- Roll Into Balls : Roll each portion into a ball between your palms. This technique encourages the cookies to spread evenly during baking.
- Arrange on Baking Sheet : Leave about 2 inches of space between each cookie to allow for spreading. Press down lightly if you prefer flatter cookies.
Baking Time and Temperature Tips
Proper baking techniques are essential for achieving the desired texture:
- Preheat Oven : Set your oven to 350°F (175°C) and let it preheat fully before placing the cookies inside.
- Bake Duration : Bake for 10-12 minutes, depending on how chewy or crispy you want the cookies. Check frequently after 10 minutes to avoid overbaking.
- Cool Completely : Allow cookies to cool on the baking sheet for 5 minutes before transferring them to a cooling rack. Cooling prevents the cookies from breaking and locks in their texture.
If you’re looking for more inspiration and detailed tips on creating the perfect chocolate brownie cookies, be sure to check out this comprehensive guide from Cloudy Kitchen. It’s packed with expert advice and delicious ideas to take your baking to the next level!
Variations of Chocolate Brownie Cookies
Gluten-Free Chocolate Brownie Cookies
For those following a gluten-free diet, substituting traditional flour with alternatives is simple:
- Almond Flour : Adds a nutty flavor and maintains a soft texture. Use a 1:1 ratio when replacing all-purpose flour.
- Oat Flour : Made from ground oats, this option is versatile and budget-friendly. Combine with xanthan gum for added structure.
- Rice Flour : Works well in small quantities but may require additional binding agents like cornstarch.
Vegan Chocolate Brownie Cookies
Creating vegan versions of these cookies is easier than ever:
- Plant-Based Butter : Replace regular butter with margarine or coconut oil-based spreads.
- Egg Substitutes : Use flaxseed meal mixed with water or applesauce as natural egg replacements.
- Dairy-Free Chocolate : Choose chocolate chips labeled as vegan to ensure no animal products are used.
Double Chocolate Delight
Take your cookies to the next level with an extra dose of chocolate:
- Dark Chocolate : Incorporate chopped dark chocolate alongside semi-sweet chips for a sophisticated flavor profile.
- White Chocolate : Add white chocolate chunks for a creamy contrast against the rich cocoa base.
- Swirl Technique : Drizzle melted chocolate over the dough balls before baking for decorative effects.
Nutty Brownie Cookies
Enhance your cookies with crunchy texture and additional flavor:
- Walnuts : Pair well with chocolate and add a subtle earthiness.
- Pecans : Provide a sweeter, buttery note that complements the chocolate beautifully.
- Macadamia Nuts : Offer a delicate crunch and creamy undertone, balancing the intensity of the chocolate.
Serving and Storing Chocolate Brownie Cookies
Creative Ways to Serve Chocolate Brownie Cookies
These cookies are versatile enough to serve in various ways:
- With Ice Cream : Top scoops of vanilla or chocolate ice cream with warm cookies for a decadent treat.
- In Milkshakes : Crumble cookies into milkshakes for added texture and flavor.
- Paired with Fruit Compote : Drizzle berry compote over cooled cookies for a refreshing twist.
How to Store Them Properly
Proper storage keeps your cookies fresh and delicious:
- At Room Temperature : Place cookies in an airtight container and store them in a cool, dry place for up to 5 days.
- Away from Moisture : Avoid storing cookies near humid areas, as excess moisture can cause them to become soggy.
Freezing Tips for Long-Term Storage
Freezing extends the shelf life of your cookies significantly:
- Unbaked Dough : Portion dough into individual balls, freeze on a tray, then transfer to a freezer-safe bag. Bake directly from frozen when ready.
- Baked Cookies : Cool cookies completely, wrap individually in plastic wrap, and place in a freezer-safe container. Thaw at room temperature before serving.
Conclusion
Chocolate brownie cookies are a delightful fusion of two timeless favorites, offering the best of both worlds in terms of flavor and texture. From their rich, chocolatey goodness to their customizable nature, these treats cater to every sweet tooth and baking enthusiast. By mastering the essential ingredients, techniques, and variations outlined in this guide, you can create perfectly chewy, decadent cookies that impress family and friends alike.
Whether you’re experimenting with gluten-free or vegan alternatives, adding extra chocolate for indulgence, or incorporating nuts for crunch, the possibilities are endless. Proper storage and freezing methods ensure that your hard work doesn’t go to waste, allowing you to enjoy these cookies long after they’ve been baked.
In conclusion, chocolate brownie cookies are more than just a dessert—they’re an experience. They bring people together, evoke nostalgia, and provide endless opportunities for creativity in the kitchen. So gather your ingredients, preheat your oven, and embark on a journey to create unforgettable memories with these delectable treats. Happy baking!

Chocolate Brownie Cookies
Equipment
- Mixing bowls (large and medium)
- Electric mixer or whisk
- Baking sheet
- Parchment paper or silicone baking mat
- Spatula
- Measuring cups and spoons
- Ice cream scoop or tablespoon (for portioning dough)
Ingredients
- For the Cookies:
- 1 cup unsalted butter
- 2 cups granulated sugar
- 4 large eggs
- 1 teaspoon vanilla extract
- 1 1/4 cups all-purpose flour
- 3/4 cup cocoa powder unsweetened
- 1/2 teaspoon baking powder
- 1/4 teaspoon salt
- Optional: 1 cup chocolate chips or chopped nuts for added texture
Instructions
- Preheat the Oven : Preheat your oven to 350°F (175°C). Line a baking sheet with parchment paper or a silicone baking mat.
- Melt the Butter :
- In a small saucepan or microwave-safe bowl, melt the butter until fully liquid. Let it cool slightly.
- Mix the Wet Ingredients :
- In a large mixing bowl, combine the melted butter and sugar. Mix until smooth.
- Beat in the eggs one at a time, ensuring each egg is fully incorporated before adding the next. Stir in the vanilla extract.
- Combine the Dry Ingredients :
- In a medium bowl, whisk together the flour, cocoa powder, baking powder, and salt.
- Gradually add the dry ingredients to the wet mixture, stirring until just combined. Avoid overmixing.
- Fold in chocolate chips or chopped nuts if using.
- Portion the Dough :
- Use an ice cream scoop or tablespoon to drop rounded portions of dough onto the prepared baking sheet, spacing them about 2 inches apart.
- Bake the Cookies :
- Bake in the preheated oven for 8–10 minutes, or until the tops are crackly and the edges are set but the centers are still soft.
- Remove from the oven and let the cookies cool on the baking sheet for 5 minutes before transferring them to a wire rack to cool completely.
- Serve :
- Enjoy the cookies warm or at room temperature. Store leftovers in an airtight container.
Notes
For a gluten-free version, use a 1:1 gluten-free flour blend.
Store cookies in an airtight container at room temperature for up to 5 days. Freeze for up to 3 months; thaw at room temperature before serving.
Double the recipe if serving a larger crowd.